Thinking about listing your Dilworth bungalow in the next few months? A few focused paint and lighting moves can transform your photos, make rooms feel larger, and showcase the character buyers love. You do not need a full remodel to get a premium look. In this guide, you’ll learn a simple, period-aware plan that fits Dilworth’s Craftsman style and boosts perceived value. Let’s dive in.
Dilworth character and buyer goals
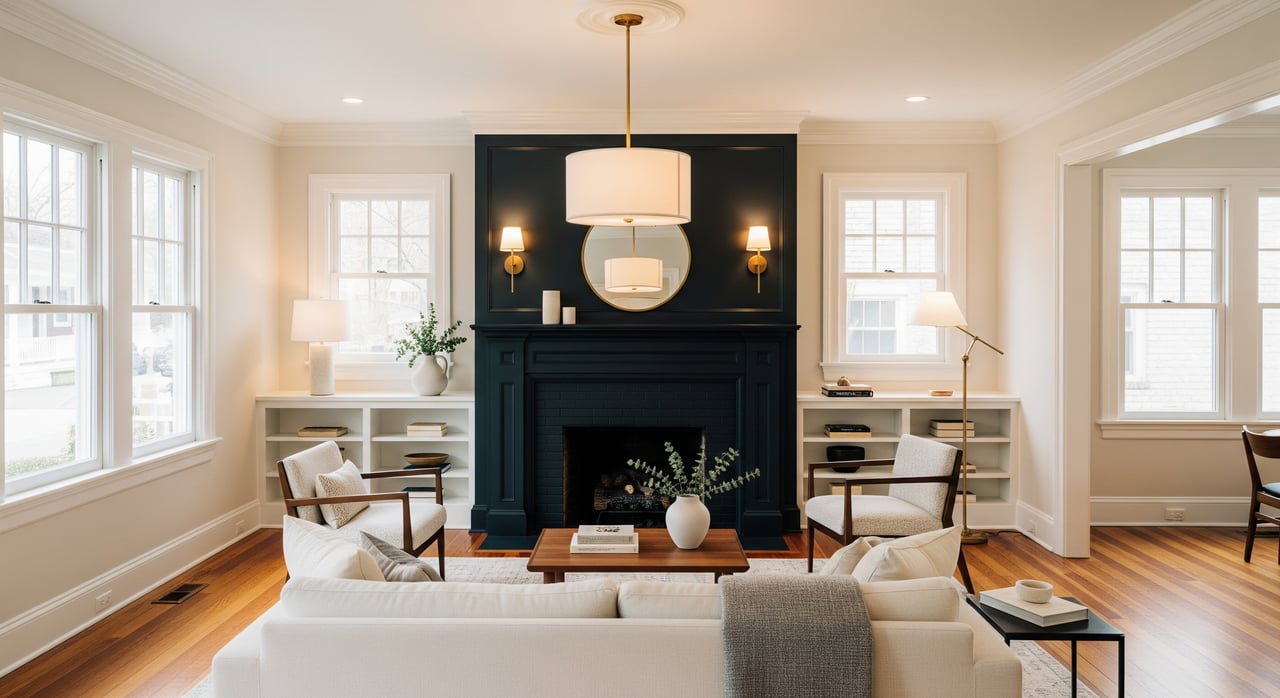
Dilworth is defined by early 20th century bungalows and Craftsman homes with original trim, built-ins, and hardwoods. Buyers in this neighborhood want authentic character paired with fresh, clean presentation. When you highlight woodwork, keep palettes warm, and choose fixtures that feel handcrafted, the home reads true to its era and photographs beautifully. Before changing exterior colors or porch fixtures, check local historic or neighborhood guidelines to confirm what is allowed.
Paint strategy that flatters Craftsman details
Warm, neutral walls that photograph well
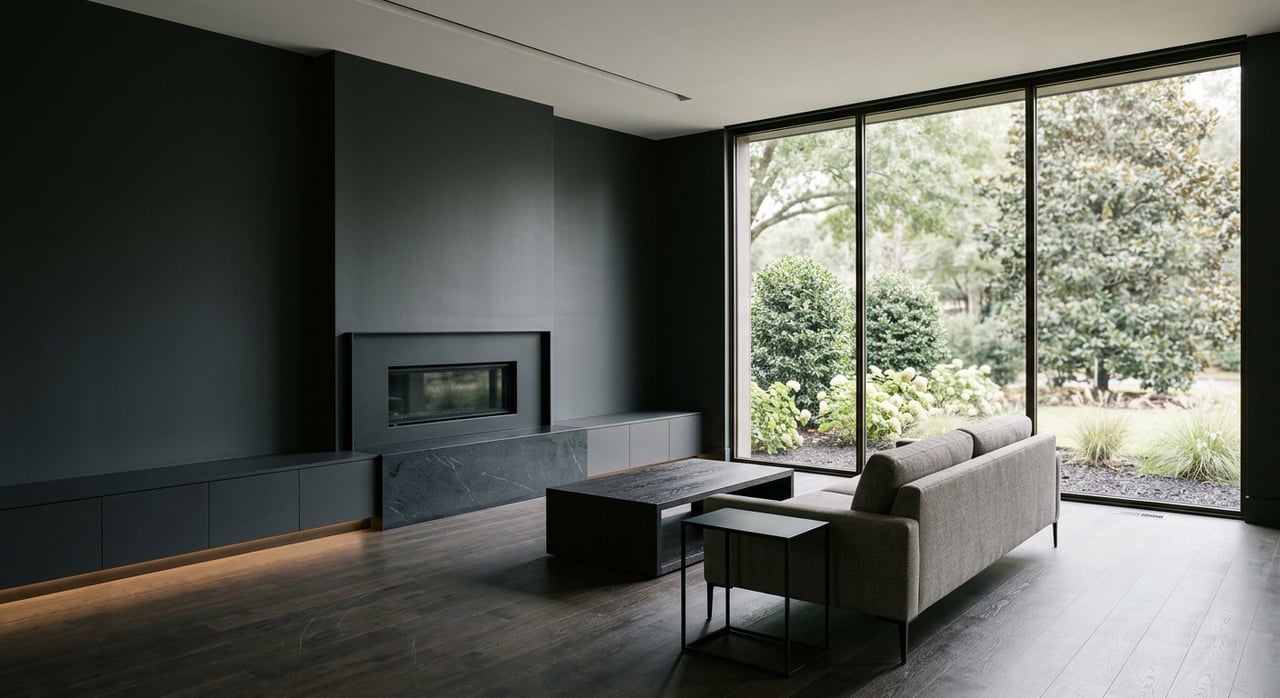
Use a warm greige or soft neutral on walls to brighten rooms without washing out wood tones. Very cool gray can look flat under the warm light common on tree-lined Dilworth streets. A restrained palette creates a consistent backdrop for photos and lets your millwork and floors take the spotlight.
Trim that highlights millwork
Choose a creamy off-white for trim and doors. Pure bright white can feel too modern next to older woodwork. A slightly warm white helps built-ins, window casings, and picture rails pop in photos while keeping the overall look cohesive.
Accent colors with period feel
Keep accents muted and intentional. A single wall, a front door, or a few staging pieces in sage, desaturated navy, deep green, or terracotta adds depth that suits Craftsman-era palettes. Limit accents to one or two tones so rooms feel calm and upscale.
Finishes and products that perform
- Walls: eggshell or satin for soft luster and better coverage in photos.
- Trim and doors: semi-gloss for durability and definition.
- Ceilings: flat to hide imperfections.
- Use high-quality low- or zero-VOC paint so the home shows well soon after work.
- Prime repairs and dark-to-light changes for even color.
Practical painting steps
- Prioritize the entry, living room, kitchen, and the primary bedroom if you cannot paint everything.
- Tackle full neutral repaint if walls look tired, then freshen trim for crisp lines.
- Coordinate wall color with rugs and pillows so accessories carry most of the color.
- Allow 1 to 2 weeks before listing for touch-ups and airing out.
Lighting that makes rooms glow
A simple layered plan
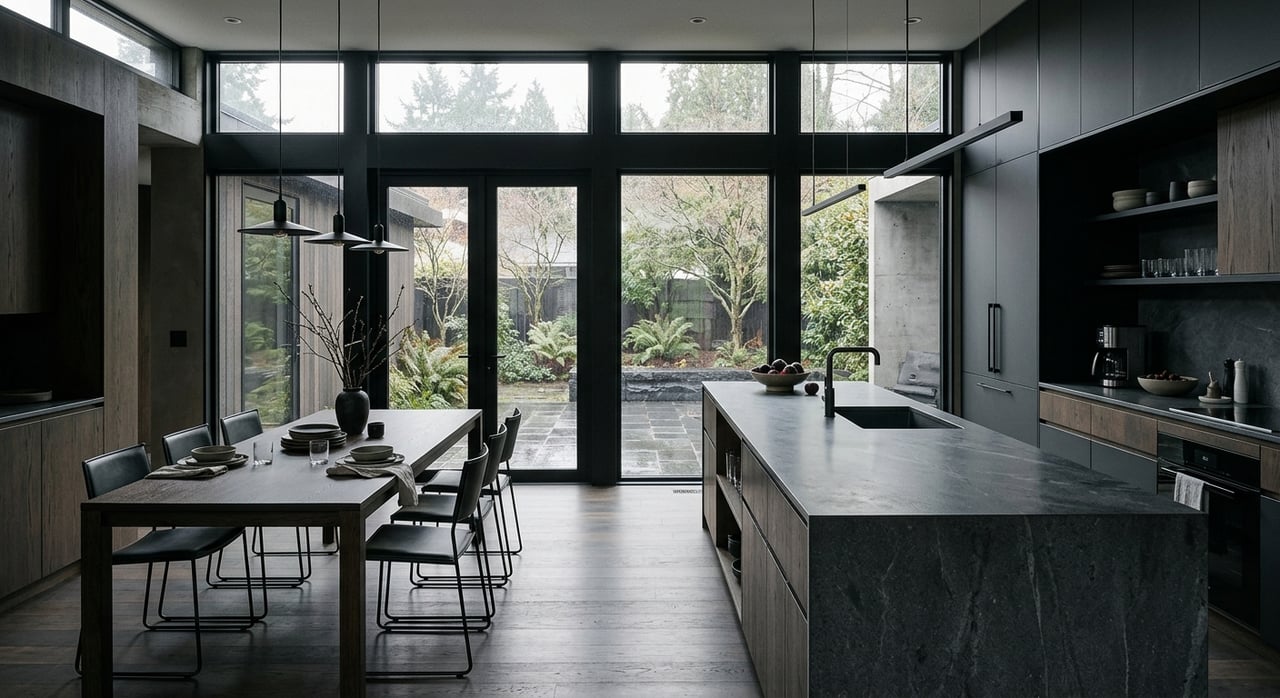
Combine ambient, task, and accent lighting so rooms look even and inviting. Pair ceiling fixtures with table or floor lamps for warmth. Add under-cabinet lighting in the kitchen and a reading lamp near built-ins to highlight detail.
Bulbs that flatter wood and color
- Color temperature: choose warm white around 2700 to 3000 K.
- Color rendering: look for CRI 90+ for accurate paint and wood tone.
- Brightness: use LEDs sized to the room so photos are bright without glare.
- Dimmers: add where practical so you can balance natural light during showings and photography.
Fixtures that respect the architecture
Choose simple geometric lines with frosted or seeded glass. Oil-rubbed bronze, aged brass, or black metal reads well with Craftsman trim. Keep scale proportional to room size and ceiling height so fixtures frame the space rather than overwhelm it.
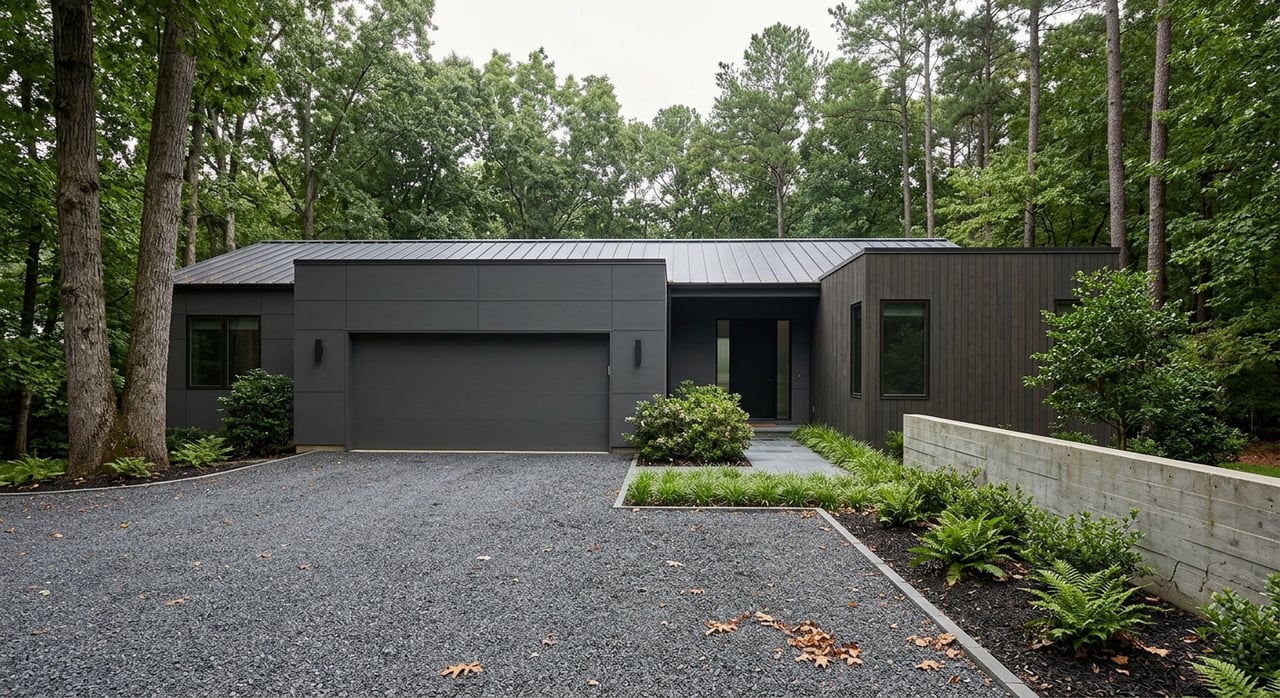
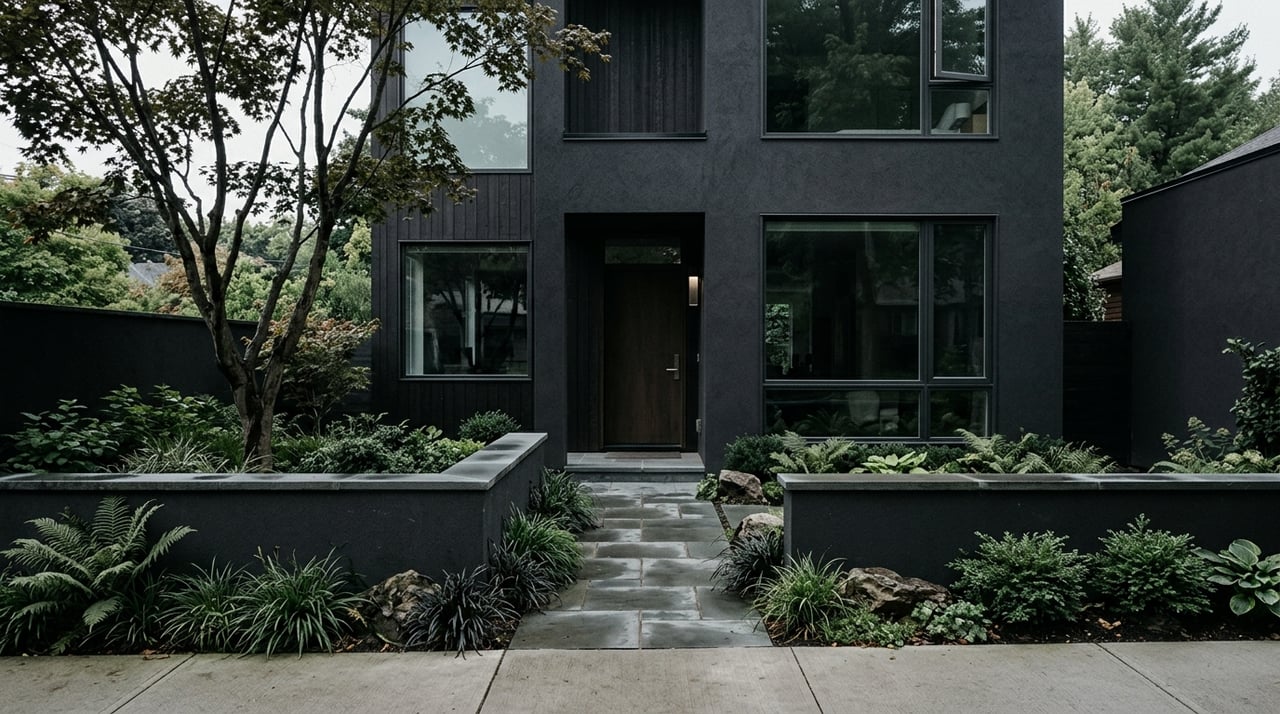
Exterior lighting for curb appeal
Update porch or entry lanterns to clean, period-appropriate designs with warm bulbs. Add modest, warm path lighting for a welcoming look during evening showings. Keep the style uniform for a calm, intentional street view.
Photo-day lighting checklist
- Standardize every visible bulb to the same color temperature.
- Replace mismatched or burned-out bulbs.
- Clean glass shades and wipe dust from fixtures for maximum output.
- Open window coverings and schedule photos during the brightest part of the day.
Small styling swaps with big impact
- Replace yellowed switch plates and outlet covers with clean white or period-style metal.
- Swap dated entry, dining, and kitchen fixtures for simple, era-appropriate options.
- Trade heavy drapes for light-filtering sheers or simple blinds to boost daylight.
- Update cabinet hardware to simple bronze or antique brass.
- Use neutral or subtle-patterned rugs that echo your accent palette.
- Edit decor. Keep a few intentional pieces and give built-ins room to shine.
Repair and maintenance that show up in photos
- Touch up scuffed baseboards, door frames, and stair rails.
- Re-caulk and refresh grout lines in kitchens and baths that show in photos.
- Wipe ceiling fan blades, clear cobwebs, and clean all glass surfaces.
Furniture placement for smaller rooms
Dilworth rooms often have defined footprints. Create clear pathways and avoid blocking windows, fireplaces, or built-ins. One or two accent pillows or a throw in your chosen accent color is enough. Let the woodwork be the hero.
Your 3 to 6 month prep timeline
- 12 to 24 weeks: Assess scope and budget. Confirm any exterior color or fixture approvals if you are in a reviewed area. Align priorities with market goals.
- 8 to 12 weeks: Finalize palettes and fixture styles. Order paint, bulbs, and lights. Some items can take 2 to 6 weeks.
- 4 to 6 weeks: Schedule painters and an electrician for swaps. Start exterior work in dry weather if needed.
- 2 to 3 weeks: Complete painting, deep clean, and execute styling swaps.
- 1 week: Professional photography. Make final staging tweaks and standardize bulbs.
Budget and ROI mindset
Target high-visibility changes first. Interior paint, lighting swaps, and small styling updates are among the most cost-effective ways to improve first impressions and photo quality. Get multiple bids for painting and electrical work. Choose craftsmanship over scope, because poor finishes reduce perceived value.
Quick decision checklist for Dilworth
- Neutral warm wall color selected and tested in daylight and evening light.
- Trim in a soft, creamy white that complements woodwork.
- One accent color identified for a door or a few staging pieces.
- Bulbs standardized to 2700 to 3000 K with CRI 90+ and dimmers where helpful.
- Priority fixtures updated in entry, dining, and kitchen.
- Switch plates, hardware, and visible wear points cleaned or replaced.
- Exterior approvals checked if changing colors or porch lights.
- Professional cleaning and photography scheduled after updates.
Ready to turn this plan into a polished, market-ready launch? Our in-house design and staging team, KO Designed, pairs the right paint and lighting choices with professional photography for maximum impact. List. Stage. Sell. If you want hands-on guidance tailored to your Dilworth home, connect with KO Realty Group. Book a Call.
FAQs
What paint colors work best for Dilworth bungalows?
- Warm greige or soft neutral walls with creamy off-white trim, plus one muted accent like sage or desaturated navy, highlight Craftsman woodwork and photograph well.
Which paint finishes should I use before selling?
- Use eggshell or satin on walls, semi-gloss on trim and doors, and flat on ceilings for a clean, durable look that hides minor flaws and shows well in photos.
How do I choose light bulbs for Craftsman interiors?
- Pick warm white bulbs around 2700 to 3000 K with CRI 90+ to flatter wood tones and paint colors, and add dimmers so you can balance light for showings and photos.
What lighting fixtures suit a Craftsman-style home?
- Mission-style or simple geometric fixtures in oil-rubbed bronze, aged brass, or black metal with frosted or seeded glass look authentic while offering modern LED performance.
When should I start paint and lighting updates before listing?
- Start planning 12 to 24 weeks out, order materials at 8 to 12 weeks, complete painting and swaps 2 to 3 weeks before photos, and allow time for touch-ups and airing out.